How To Make A Canopy?

A canopy is a covering that is fixed above something so as to provide shelter or for decoration. It can either be removed or folded away. So, let's find out in particular how to make a canopy.
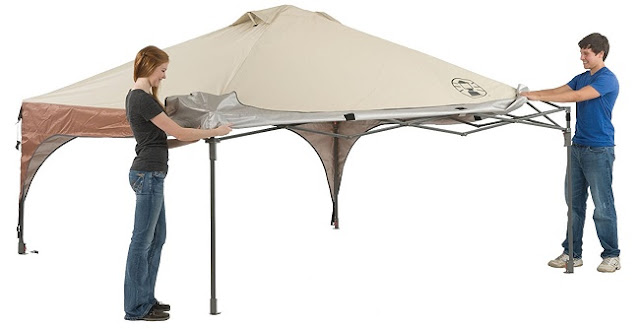
There is a variety of canopy fittings and canopy frames available in the market that helps to make canopies easily. Several canopy kits are also available in the market. These kits include quality joint fittings designed aesthetically. These are used with tubing.
They also include heavy duty canopies and tarps in various multiple colors. They are also equipped with the entire ball ties that are an essential requirement for their assembly.
There are several tarps and fittings you may choose from in case you want to build your own canopy. These fittings are available for various degrees of sloping roofs.
Then there are various specialty fittings as well. Tarps are made of heavy-duty polyethylene that is laminated. They are available in sizes ranging from 6 feet to 60 feet.
Canopies and tarps are made up of special material. This material is 100% sun blocking, flame retardant, and acts as a mesh sunscreen.
Check out top 10 canopy reviews Canopy Tent Advisor
Let us detail the procedure for your benefit.
To make a canopy you first need to cut the fabric rectangle along the diagonal to create two triangles of equal size. The canopy can be made in any desirable shape. But make sure that the overlapping is done in a way that you can hang a chandelier through the center.
Now you need to cut the border fabric in 6 strips, ten inches wide each. Each one must be of the same length so that one side of a triangle and an additional fourteen inches allows for turning under the raw edges.
Along every long side, fold around an inch of fabric towards the center of each strip. Now press these eight inches long stripes with a hot iron so that they are held in place. The next step is to fold the strips in half, with wrong sides together.
Now, the edge of the awning triangles should be covered with the strips and pinned properly in their place. The ends should now be turned under and the corners should be mitered. Now, along the edge of the layers, run a top stitch and place a grommet into each of the corners. Now hang the outdoor canopy appropriately.
Then there are additional accessories namely S-hooks, tarp ties, canopy anchors, grommets, thigh grade ball ties (bungee), tarp tape, spring clamps, foot pads, ratchet style tie down straps, fabric clips, trigger style tie down straps that give a complete look to your canopy design.
Now, you might have got an idea of how to make a canopy. If you still have some doubts, search on the Internet for further details.


Comments
Post a Comment